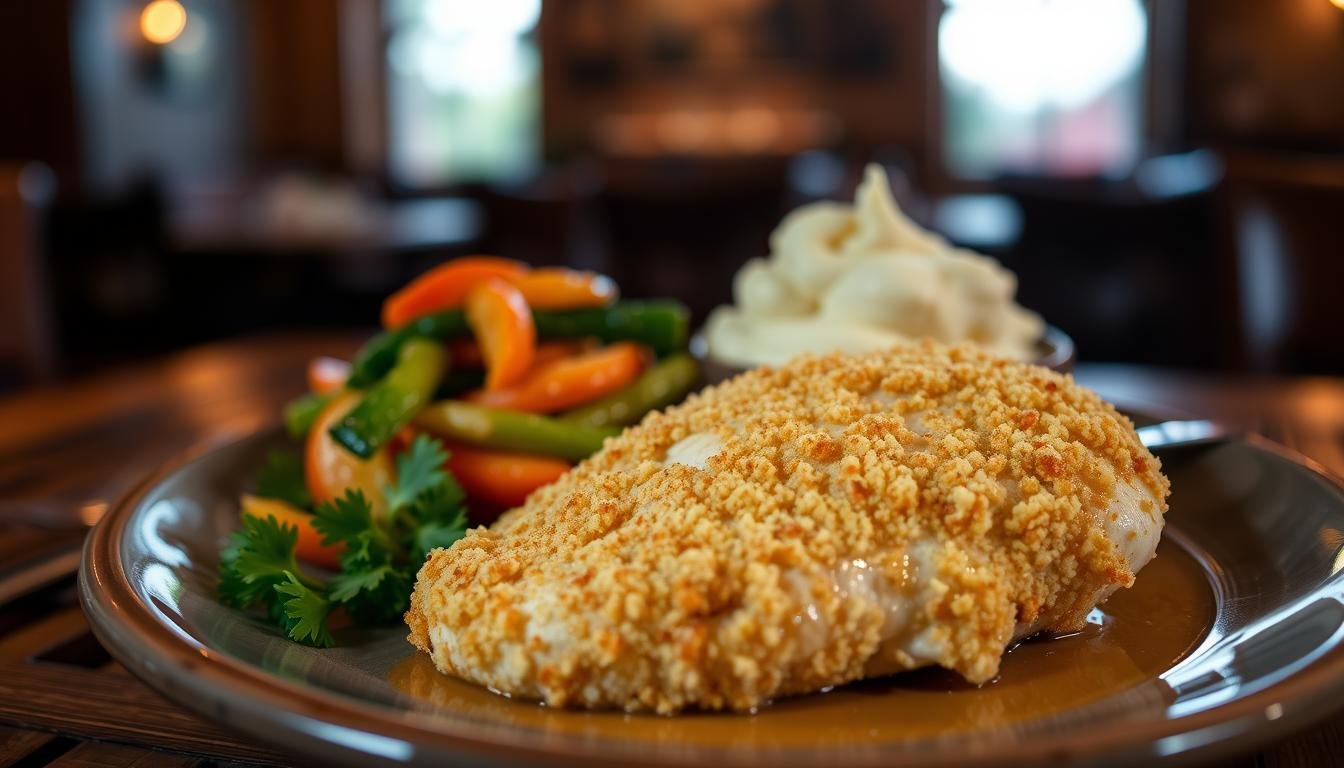
Longhorn Steakhouse Parmesan Crusted Chicken
We love recreating a restaurant favorite at home, and this copycat Longhorn Steakhouse Parmesan Crusted Chicken delivers the same juicy, tender bite you expect. Our recipe uses thin chicken breast cuts so the meat cooks evenly and stays moist, while a quick sear in a large skillet locks in flavor before a short finish in the oven.
To build the signature crust, we blend freshly grated parmesan, provolone, panko breadcrumbs, and a touch of garlic and melted butter. A simple marinade of Italian and ranch dressing adds depth, and we always check that internal temperature reaches at least 165°F for safety.
This introduction previews a clear, step-by-step guide that measures every cup and tablespoon. In minutes, you can make a crisp-topped dish that pairs perfectly with mashed potatoes or a fresh side and impresses guests with restaurant-style flavor.
Why We Love This Longhorn Steakhouse Parmesan Crusted Chicken
This recipe shines because it pairs a creamy ranch base with a crunchy parmesan topping. The contrast of textures makes every bite interesting and satisfying.
We build the crust from provolone, freshly grated parmesan, and panko for a crisp finish that stays intact. A quick sear in a hot skillet seals flavor, then a short turn in the oven or broiler gives the golden top we want.
Garlic and butter lift the savory profile, while the ranch dressing adds tang and moisture. The method keeps the breasts tender, so the interior stays juicy under a robust crust.
- Copycat appeal that tastes like the restaurant original.
- Provolone and panko create a unique, crunchy texture.
- Ready in minimal time—perfect for busy weeknights.
- Serves beautifully with mashed potatoes or steamed broccoli as a side.
Essential Ingredients for the Perfect Crust
A crisp, flavorful crust starts with the right pantry choices and a simple prep routine.
Selecting Quality Cheese
Freshly grated parmesan melts more smoothly than pre-shredded options. We use a block grated just before mixing.
Provolone cheese adds stretch and creaminess that balances the sharper notes from parmesan. Combine both with high-quality panko for crunch.

Choosing the Right Chicken
Thin sliced chicken breasts cook evenly and stay juicy under a hot sear and a brief oven finish. We trim excess fat and pound gently if needed.
Before topping, we toss dry ingredients in a large bowl so butter, garlic powder, and salt distribute evenly. Measure every tablespoon to keep the recipe consistent.
| Ingredient | Why It Matters | Our Tip |
|---|---|---|
| Freshly grated parmesan | Melts better, fewer additives | Grate from a block just before use |
| Provolone | Adds creaminess and stretch | Thin slices layered into the crust |
| Panko | Creates signature crunch | Use high-quality, dry crumbs |
| Butter & salt | Helps browning and flavor | Mix a pinch of salt into melted butter |
Preparing Your Chicken for Maximum Flavor
Flavor begins before the pan: a short soak in dressing and careful handling set up the perfect crust.
We marinate our chicken breasts in a mix of Italian and ranch dressing for at least 30 minutes. Using one cup of marinade coats four thin breasts evenly and helps the meat absorb moisture without overwhelming it.
Do not exceed the recommended time. Acidic ingredients in the dressing can break down the protein and make the texture mushy if left too long.
After marinating, we always pat the chicken dry. Drying ensures the ranch spread and parmesan crust adhere tightly and brown properly during searing and broiling.
Use a large, oven-safe skillet so you can sear the meat, then transfer it straight to the oven. The high-heat sear locks in juices and creates a foundation for the final cheesy topping.
Taking these extra minutes to prep guarantees tender, well-seasoned results that hold up under a golden, crisp finish.
| Step | Why It Matters | Time |
|---|---|---|
| Marinate | Infuses flavor and moisture | 30 minutes |
| Pat dry | Helps crust stick and brown | 1–2 minutes |
| Sear in skillet | Locks in juices, creates color | 2–3 minutes per side |
| Broil in oven | Melts cheese, crisps topping | 2–4 minutes |
Creating the Signature Ranch Spread
Our signature ranch spread is the simple secret behind a moist, flavorful crust that sticks every time.
Customizing Your Creamy Base
We whisk equal parts parmesan cheese and creamy ranch dressing in a medium bowl until smooth. This blend forms a rich layer that bonds the crumb topping to the chicken and keeps the meat tender under high heat.
Shred the provolone cheese finely before adding it. Whole slices can melt unevenly and become gloopy when broiled. A light sprinkle of shredded provolone gives the spread stretch without weighing it down.
- Prepare about one cup of spread to cover four servings evenly.
- For tang, stir in a splash of yogurt or a spoon of sour cream.
- Mix until silky so it applies smoothly across each piece of meat.
- Make the spread while the chicken sears so it’s ready to go into the oven immediately.
Using high-quality ingredients matters. The parmesan and provolone together create a layered cheese profile that lifts this recipe to a restaurant-quality finish and prevents drying during the final broil.
Mastering the Parmesan Crumb Topping
The crumb topping makes the dish sing. We combine panko breadcrumbs, freshly grated parmesan cheese, garlic powder, and melted butter in a small bowl.
Freshly grated parmesan is essential because it melts cleanly. It has no anti‑caking agents, so the crumbs bind and brown better.
We measure three tablespoons of butter to moisten the crumbs. Stir until every crumb is coated; a fork helps break up clumps for an even texture.
- Use panko for crunch and uniform browning.
- Apply the mix generously on top of the ranch spread for a thick, crispy crust.
- Mix in a small bowl so you can control moisture and seasoning.
| Ingredient | Amount | Tip |
|---|---|---|
| Panko breadcrumbs | 1 cup | Dry and flaky for best crunch |
| Freshly grated parmesan | 1/2 cup | Grate from a block |
| Butter | 3 tablespoons (melted) | Coats crumbs for golden browning |
This simple topping is the crowning glory of our recipe. It adds the texture and flavor that make the chicken feel like a restaurant meal at home.
Achieving the Ideal Sear in a Skillet
Getting a proper sear in the skillet sets the stage for a crisp, restaurant-quality crust every time. We use a heavy cast-iron skillet for even heat distribution and a reliable brown on the surface of the breasts.

Avoiding Overcrowding the Pan
Overcrowding causes the chicken to steam instead of sear. We leave room between pieces so air circulates and the surface browns evenly.
Working in batches keeps the skillet hot and prevents loss of color. After searing, we transfer each piece to an oven-safe dish for the final finish.
Managing Heat Levels
We heat the skillet over medium-high and add a small cup of oil sparingly to coat the bottom. If the oil begins to smoke, we lower the flame to control the heat.
Cook the breasts about 5 minutes per side to build a deep crust. This timing gives the recipe the flavor base it needs before the oven step.
- Use cast-iron for steady heat.
- Keep pieces spaced; do not crowd.
- Time 5 minutes per side and watch the color closely.
Broiling Techniques for a Golden Finish
Finishing the breasts under the broiler is the quickest way to get a golden, bubbling crust without drying the meat.
We place the pan on the middle rack and broil for 5 to 10 minutes, watching every minute. The intense oven heat melts provolone and crisps the parmesan-panko topping while the ranch dressing helps the crumbs brown evenly.
Never leave the broiler unattended; breadcrumbs and cheese can burn in seconds. We check the internal temperature of the chicken with an instant-read thermometer and remove the pieces at 165°F.
- Use 1 tablespoon garlic powder in the topping so flavor holds up to high heat.
- Position the rack mid-oven to prevent the top from charring before the cheese melts.
- Apply ranch and cheese evenly across each piece for a consistent finish.
| Step | Heat | Time |
|---|---|---|
| Broil on middle rack | High | 5–10 minutes |
| Check internal temp | — | Reach 165°F |
| Watch color | Surface | Adjust by minute |
Recommended Side Dishes to Complete Your Meal
Simple sides make a rich main feel balanced and complete. We pick options that add texture, freshness, and comfort without stealing the show.
Classic Steakhouse Pairings
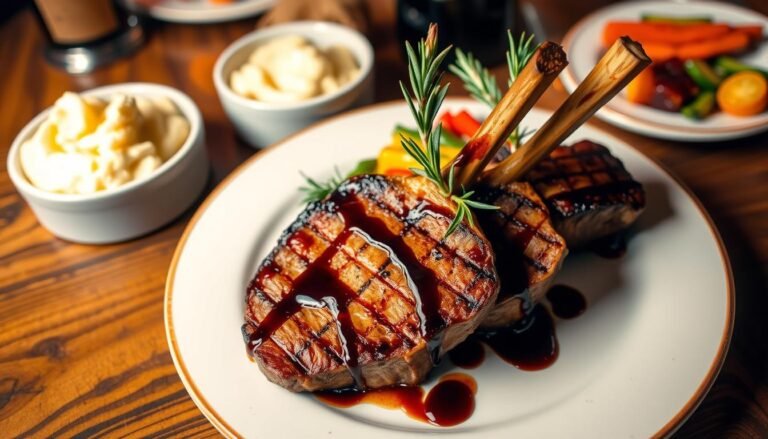
We serve our parmesan crusted chicken with creamy mashed potatoes for a classic pairing. The potatoes soak up extra sauce and highlight the parmesan cheese in the topping.

A crisp Caesar salad adds crunch and a bright contrast. Steamed broccoli or asparagus are quick vegetable choices that finish in a few minutes while the main rests in the oven.
- Mashed potatoes — rich and creamy, a perfect complement to the cheese.
- Caesar salad — cool, crunchy greens to balance richness.
- Steamed broccoli or asparagus — ready in under 10 minutes and very fresh.
- Prep sides during the final broil so everything lands hot on the plate.
By keeping sides straightforward, we let the crusted chicken remain the star. These pairings help create a true restaurant-style dinner at home with minimal fuss.
Enjoying Your Restaurant Quality Dinner at Home
Bring restaurant-style flavor to your table with a golden, crunchy top and tender breasts every time. We hope you enjoy recreating this parmesan crusted chicken at home and feel confident in the crust and topping you built.
Leftovers keep well in the fridge for up to 3 days. Reheat in the oven to revive the crisp; a few minutes on high heat brings back texture and flavor better than the microwave.
This copycat recipe aims to be a reliable favorite. By following our step-by-step method—marinate, sear in a hot skillet, top with provolone cheese and parmesan cheese, then finish under the broiler—you’ll serve a gourmet dish with mashed potatoes and your preferred sides.
Thank you for cooking with us. We welcome your feedback and tips from your kitchen experiments.